
Unlock the Magic of Your Eyes: How to Brighten Eyes in Lightroom
A picture may be worth a thousand words, but captivating eyes can tell an entire story. The eyes have a powerful ability to convey emotions, draw attention, and create a connection with viewers. But what if you could enhance the natural beauty of your subject’s eyes without making them look artificial? With Adobe Lightroom, you can achieve stunning eye enhancements that maintain a natural appearance. In this blog post, you will learn step-by-step techniques on how to brighten eyes in Lightroom and enrich the eyes using Lightroom’s powerful tools, such as the Adjustment Brush and Radial Filter.
Whether you are a professional photographer or an amateur enthusiast, these techniques will help you elevate your portrait photography and bring life to your subject’s eyes. Ready to unlock the magic of your subject’s eyes and elevate your photos to new heights? Let’s dive in!
Key Takeaways
-
Master the Adjustment Brush for eye brightening and customize brush settings to achieve natural-looking results.
-
Use the Radial Filter tool to enhance eyes with targeted adjustments, or use Lightroom’s Iris Enhance effect.
-
Synchronize Settings for batch editing and strike a balance between exposure/contrast while keeping clarity & shadows in check for natural enhancements.
Mastering the Adjustment Brush for Eye Brightening
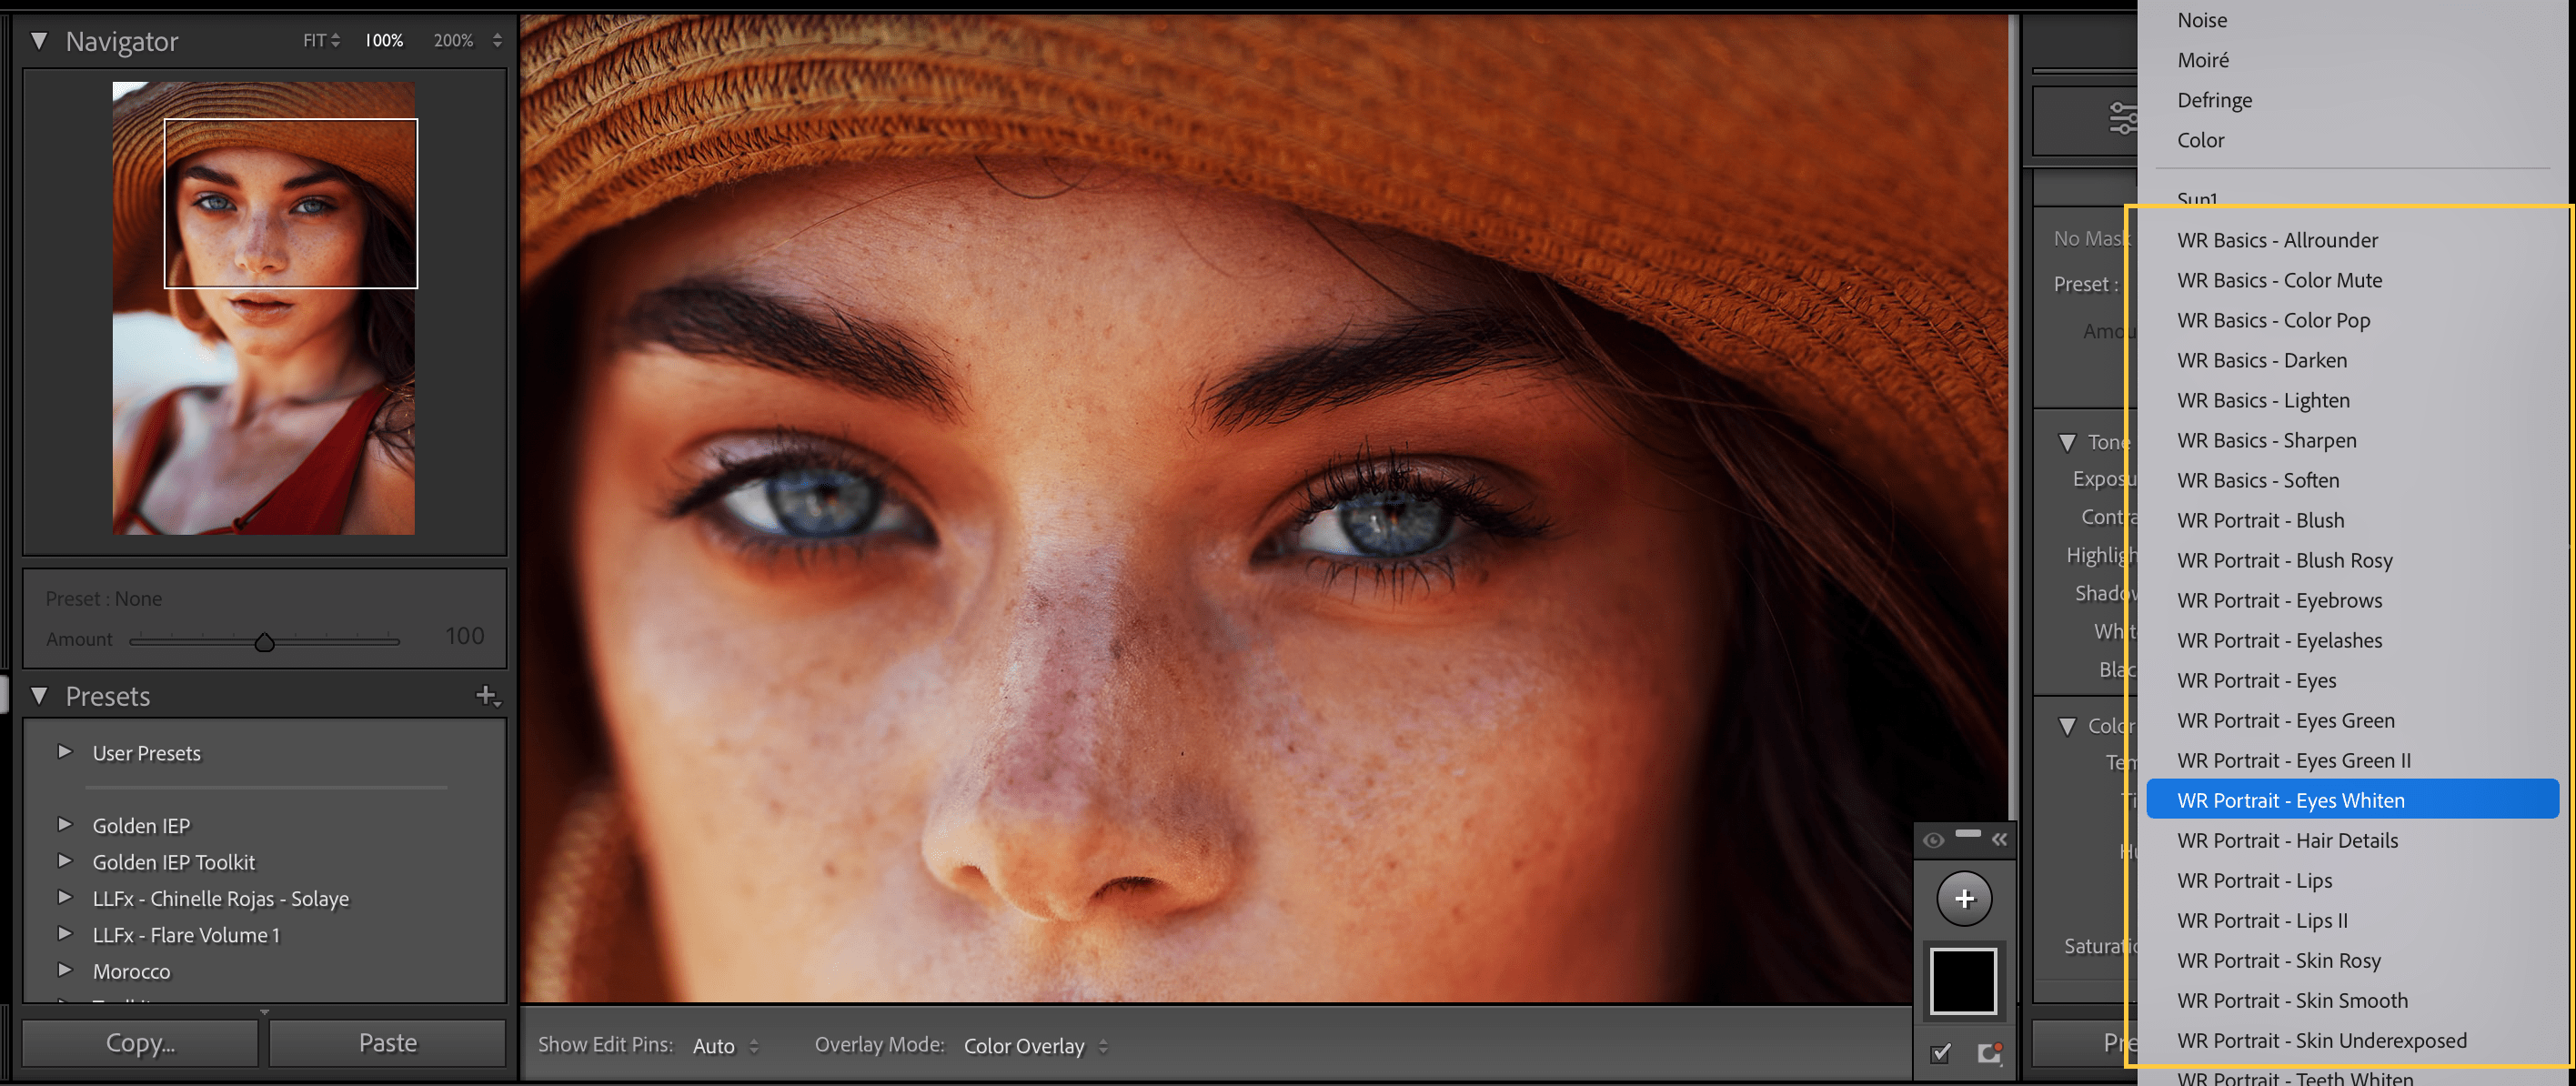
The Adjustment Brush is a versatile tool in Lightroom, capable of applying precise adjustments to specific areas of an image, such as adding highlights to the eyes and whitening teeth. Before using the Adjustment Brush for eye brightening, it is recommended to process the entire image to achieve your desired outcome. This way, you can focus on enhancing the eyes without worrying about the overall look of the photo.
When using the Adjustment Brush for eye brightening, remember that a light touch helps to prevent over-editing and maintain a natural look. Balancing exposure and contrast also plays a vital role in crafting eyes that are captivating yet authentic. To achieve this balance, you can adjust the Saturation slider to control the whiteness of the eyes and tweak the Temp slider to add a small amount of blue if the eyes appear to have a yellow tone.
Customize Your Brush Settings

For effective eye brightening with the Adjustment Brush, it’s necessary to tailor your brush settings. Adjusting the size, flow, feather, and density of the brush allows for precise application of the effect. You can change the brush size using the brackets [ and ] on your keyboard.
The Flow slider controls the amount of paint applied each time you right-click and paint. A Flow setting of 25-50% is recommended for brightening eyes with the Adjustment Brush. The Feather slider determines the degree of hardness or softness of the edge of the brush, while the Density slider functions similarly to an opacity slider, with 100% density indicating the full effect of the adjustment.
Adjusting these settings with care allows you to provide natural-looking enhancements to your subject’s eyes while keeping them from appearing artificial.
Apply Brush Strokes to Eyes
After customizing your brush settings, proceed to apply the brush strokes to the eyes. To do this, follow these steps:
-
Open the image in Lightroom.
-
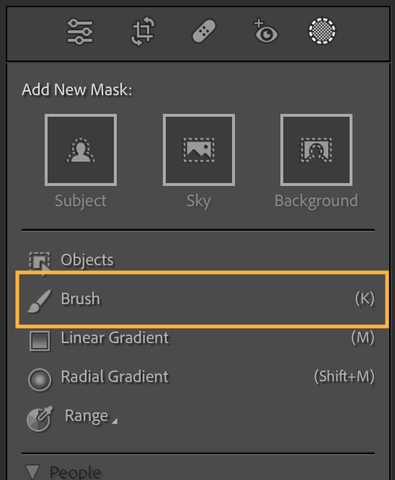
Select the Adjustment Brush tool from the toolbar or by pressing the ‘K’ key.
-
Adjust the brush size, feather, and flow to suit your needs.
Zoom in on the eyes for better precision and paint over them using the brush tool. As you paint, use the sliders in the Adjustment Brush panel to refine the effect, such as increasing clarity or brightness. If necessary, you can repeat the process for the other eye to edit eyes effectively.
Following this step process while taking care to prevent the whites of the eyes from appearing artificial helps you to create stunning, brighten eyes that still look natural. Additionally, this method can help whiten eyes for a more refreshed appearance and whiten teeth for a dazzling smile.
Using the Radial Masking Tool for Eye Enhancement

Another powerful tool for eye enhancement in Lightroom is the Radial Filter. This tool can be used in conjunction with the Adjustment Brush to improve the color of the iris and create a more vivid look. Combining these tools enables you to enhance the eyes in a way that brightens them while also enriching their color and detail.
The Radial Filter tool, sometimes referred to as a radial mask, is especially useful when you want to enhance the eyes without affecting other areas of the image. With its ability to create targeted adjustments, the Radial Filter is a valuable asset for portrait photographers looking to bring their subject’s eyes to life.
Select Iris Enhance Effect
To start using the Radial Filter tool for eye enhancement, access the Develop module in Lightroom and choose the Iris Enhance effect. This effect is specifically designed to improve the appearance of the iris, making it an ideal choice for eye enhancement.
After selecting the Iris Enhance effect, click the Invert Mask button. This ensures that the effect is applied to the iris and not the surrounding area, allowing for targeted adjustments that enhance the eyes without affecting other parts of the image.
Create and Adjust Ellipses
After selecting the Iris Enhance effect and inverting the mask, proceed to draw an ellipse over the iris. Click and drag to create the ellipse, adjusting its size and position to fit the iris perfectly. As you adjust the ellipse, periodically zoom in on the photo to ensure the effect is applied accurately and effectively.
Once the ellipse is in place and the desired effect is achieved, you can duplicate the mask by right-clicking and selecting the Duplicate option from the masking panel. This allows you to quickly apply the same effect to the other eye, ensuring a consistent and natural-looking enhancement across both eyes.
Finally, apply a burn effect to the edges of the iris if necessary to further refine and polish the overall look.
Sync Dialog Box for Batch Editing

In some cases, you may have multiple images that require similar eye enhancements. Instead of manually editing each image individually, Lightroom offers the Sync Dialog Box to save time and streamline your workflow. We use this feature a lot in our editing process. Usually we start off off with a base preset from our Wedding Preset collection and then make individual tweaks to the preset. When we have the perfect edit for our image, we synch it to the rest of the set. The Sync Dialog. Box allows you to synchronize settings or collections across multiple photos or catalogs easliy.

Utilizing the Sync Dialog. Box allows you to apply your eye brightening settings to several images at once, promoting a consistent look throughout your entire collection. This powerful feature is particularly useful for portrait photographers who often work with multiple images from the same session.

Select Images for Batch Editing
To initiate batch editing, choose the images you want to brighten in the same way using the same settings. You can do this in the Library module by holding down the Ctrl (or Command) key and clicking on the desired images.
Once your images are selected, you can apply the same presets or adjustments to all of them at once, drastically reducing the time spent on photo editing.
Synchronize Settings
To synchronize the settings across all selected images, open the Synchronize Settings Dialogue Box by clicking the Sync button located at the bottom right-hand side of the screen in the Edit Panels, or by using the shortcut ‘Ctrl + D’. Shift + S’.
In the dialogue box, select the settings you wish to synchronize, such as:
-
exposure
-
contrast
-
highlights
-
shadows
-
clarity
Once you have chosen the settings to be synchronized, click the Synchronize button to apply the same settings to all selected images.
This effective feature helps to maintain a consistent look across all your portrait photography images, freeing you to concentrate on different aspects of your photography, using an example image as a reference.
Tips for Natural-Looking Eye Enhancements
The key to avoiding drawing attention to the editing process and keeping the focus on your subject’s captivating eyes is to achieve natural-looking eye enhancements. By following the techniques outlined in this blog post and keeping some key tips in mind, you can ensure that your eye enhancements look natural and not overdone.
Remember to strike a balance between exposure and contrast, and keep clarity and shadows in check during the editing process. These tips, combined with careful use of the Adjustment Brush and Radial Filter tools, will help you create eye enhancements that are both visually stunning and natural-looking.
Strike a Balance with Exposure and Contrast
To ensure your eye enhancements appear natural rather than artificial, it’s crucial to find the right balance between exposure and contrast. Adjusting the exposure slider in Lightroom can help you control the brightness of the eyes, while the contrast slider allows you to create or reduce the distinction between lighter and darker tones.
By carefully adjusting these sliders, you can achieve a balanced and natural look for your subject’s eyes. Remember, it’s not about making the eyes look overly bright or sharp; instead, focus on enhancing their natural beauty and maintaining a realistic appearance.
Keep Clarity and Shadows in Check
Keeping clarity and shadows in check during the editing process is another aspect of maintaining a natural appearance. Adjusting the Clarity slider in Lightroom can help you sharpen details or create a softer appearance, while the Shadows slider allows you to lighten or darken the shadow areas of your image.
To keep clarity and shadows in check, consider utilizing the Graduated Filter or Adjustment Brush tools for more careful adjustments. By using these tools subtly and paying attention to the overall balance of your image, you can create eye enhancements that look natural and not overly done.
How t Brighten Eyes in Lightroom: Summary
In conclusion, enhancing the eyes in your photos can significantly elevate the overall impact of your portrait photography. By mastering the Adjustment Brush and Radial Filter tools in Lightroom, you can brighten and enrich the eyes while maintaining a natural appearance. Remember to strike a balance with exposure and contrast, and keep clarity and shadows in check during the editing process.
With these techniques and tips in your arsenal, you can unlock the magic of your subject’s eyes and create captivating, stunning portraits that tell unforgettable stories. Let your subject’s eyes sparkle and shine, and watch your photography reach new heights!
Frequently Asked Questions
How do I lighten dark eyes in Lightroom?
Brighten dark eyes in Lightroom with ease by first loading the image, selecting masking, using the Adjustment Brush and adjusting the sliders.
Finally, click ‘Done’ and zoom out to view the results!
How do I enhance my eyes in Lightroom app?
To enhance your eyes in Lightroom App, select the Radial Filter tool and choose Iris Enhance as the Effect.
Adjust the sliders to tweak the iris for a more realistic look.
Finally, apply a little exposure to the whites of the eye to complete the effect.
Can I apply the same eye brightening settings to multiple images in Lightroom?
Yes, it is possible to apply the same eye brightening settings to multiple images in Lightroom using the Sync Dialog Box.
Using the Sync Dialog Box, you can quickly and easily apply the same settings to multiple images. This can save you time and effort when editing multiple images.
What is the difference between the Adjustment Brush and Radial Filter tools in Lightroom?
The Adjustment Brush is perfect for localized adjustments, while the Radial Filter is ideal for making global enhancements.
How can I customize the brush settings in Lightroom for eye brightening?
Customize your brush settings in Lightroom for eye brightening by adjusting the size, flow, feather, and density to get a precise and natural effect.